18+ Content Warning

By clicking Enter, you confirm you are 18 years of age or older and agree to comply with all applicable local, state, and federal laws.

Notice: Any content or member activity - including anything you may buy, sell, transfer, or discuss - must comply with current and upcoming laws.

Members are encouraged to stay informed: California Firearm Laws: 2026 Outlook & 2025 Recap . Responsibility for compliance rests solely with the individual member.

caguns.net

Welcome to CAguns.net!
Join our growing community where you can ask questions, share knowledge, or browse our classifieds section.

Sign up for a free account today and unlock full access! Once registered, you can search, post, and take advantage of exclusive features unavailable to guests.

A note on why more of the site now requires an account: automated scrapers and AI systems have been crawling our forums and classifieds at a scale. Requiring sign-in for those sections is the most effective tool we have. It takes a minute to register, it's free, and it keeps what happens here between actual members.

New to California gun ownership or trying to keep up with the changing laws? Check out our sister site CA2A.com — free courses, plain-English legal updates, and step-by-step guides built for California owners.

Advanced features are available only to registered members. Register today!

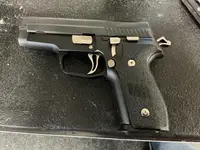
Question P226/P229 hammer

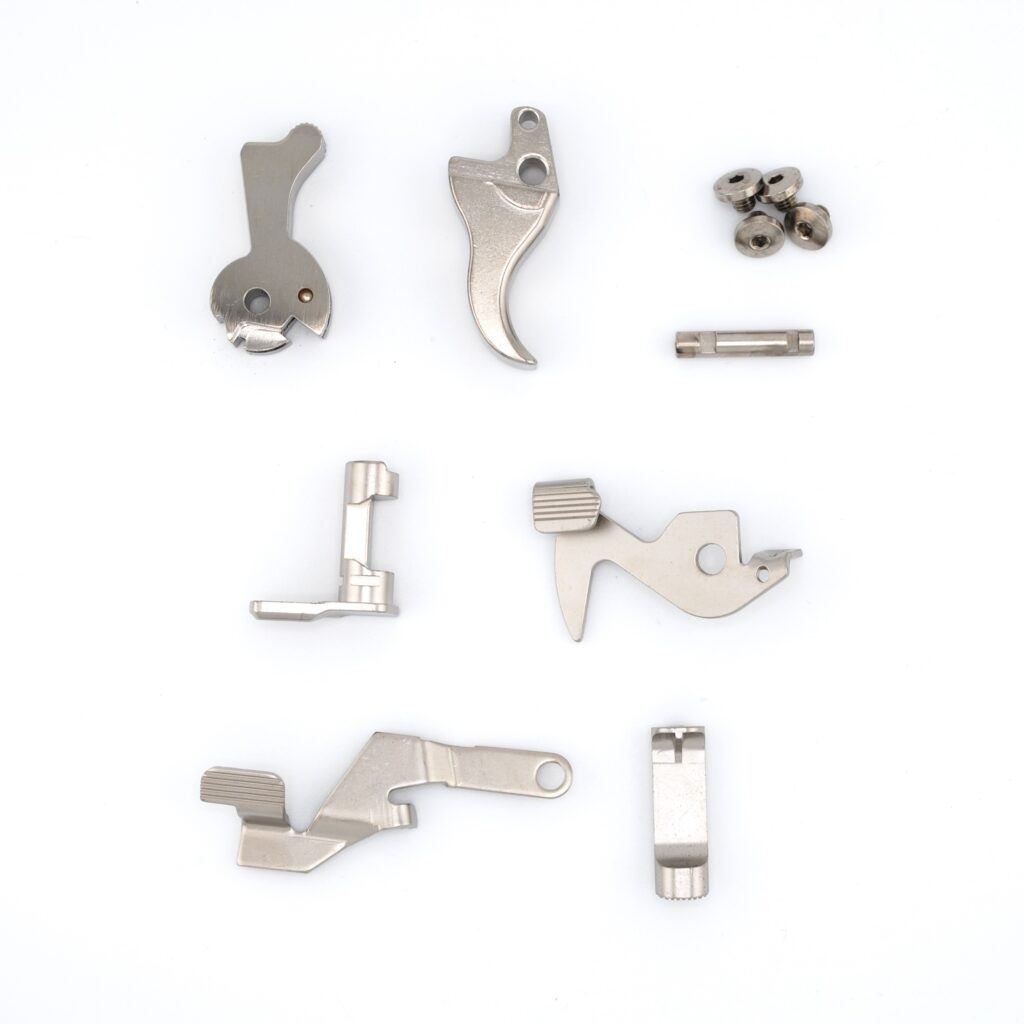
Right after breakfast (new-years brunch) I’m going to install this matrix kit, if all goes well I’ll try it out at the range today. Wish me luck getting it back together LOL

image.webp
 
Right after breakfast (new-years brunch) I’m going to install this matrix kit, if all goes well I’ll try it out at the range today. Wish me luck getting it back together LOL

View attachment 131765
Youll be good 229/226s are easy to assemble.
Probably hardest part is getting the trigger bar at the right angle and the locong insert can be a pain if its tight on the frame but overall they are easy to work on
 
Range report

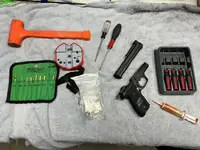
I’m not a gunsmith, so the change out took me about 4-5 hrs. Also, I ultrasonic the parts and took my time but this is how I spent New Year’s Day.

Impressions

The kit mad the gun look fantastic! Not something I care all that much about but it does look great.

It’s still the same gun.

This may be wear and tear on the gun but heretofore I had difficulty finding the reset. I’m not a pro but especially after shooting a DA only gun, I would have a real propensity to double with this gun. But it could happen at any time. That’s gone bye bye. Reset is far more predictable.

DA has become outstanding. Outside of some of the really nice S&W revolvers, this is now the finest DA trigger I have ever used.

SA I’m not a trigger Primadonna. That said, I didn’t even notice the trigger in SA operation. At 20’ rapid fire I was mag dumping into one big ragged hole. Subjectively, it works better than it does before by p[probably 20-30% tighter groups.


Summery. Took a lot of time but one of the best $200 I’ve spent on gun stuff. Especially considering that the reason I bought this kit was solely to stop the rust problems I was having when I EDC This gun. The rust mitigation was what I paid the $200 for, the better trigger is all extra bonus.

image.webp
 
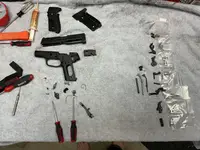
Oh, noes! I sure hope I can put it together again!

View attachment 131814

You are doing it wrong.
When you take a gun apart, keep all the parts in a line on your workbench in the order that they came off the gun.
Then when you start putting the gun back together, you just work backwards on the line.

When you are changing out parts, you disassemble far enough to get all the parts out that you are replacing.
When you finish disassembly, you swap out each old part with each new part in the line and put the old parts all away so you don't have extra parts left on the bench.
Then you put the gun all back together.
 
You are doing it wrong.
When you take a gun apart, keep all the parts in a line on your workbench in the order that they came off the gun.
Then when you start putting the gun back together, you just work backwards on the line.

When you are changing out parts, you disassemble far enough to get all the parts out that you are replacing.
When you finish disassembly, you swap out each old part with each new part in the line and put the old parts all away so you don't have extra parts left on the bench.
Then you put the gun all back together.
Not wrong, I did it my way which involves several cups of fresh coffee, a few YouTube videos and at least 1 nap. It worked and my pistol runs marvelously.
 
You are doing it wrong.
When you take a gun apart, keep all the parts in a line on your workbench in the order that they came off the gun.
Then when you start putting the gun back together, you just work backwards on the line.

When you are changing out parts, you disassemble far enough to get all the parts out that you are replacing.
When you finish disassembly, you swap out each old part with each new part in the line and put the old parts all away so you don't have extra parts left on the bench.
Then you put the gun all back together.
lol. I once completely took a lever action rifle apart and didn’t use any system and had not clue how to put it back together. I took it to a local gun smith i knew well. He chuckled and put it back together for me. The lesson I learned was if I took it apart, I was going to do two things
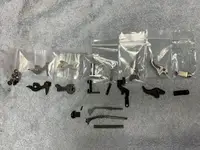
1. Put the part in a small plastic baggie and list what step number it was removed. Step one gets put back on last and highest step gets put back on first.
2. Step 2 put the part number on the plastic baggie in such a way that it isn’t confused with the step it was removed. That way, I knew where the part should be installed.

That way, if the parts somehow got out of order, I could reorder easily.

Your system might be easier.
 
Your system might be easier.
The same system works for all-manner of mechanical devices such as carburetors, engines, transmissions etc.
What changes is the amount of table space required to keep all the parts in a line.
 
Back
Top Bottom